mike-neckのブログ

Java or Groovy or Swift or Golang

Spring WebFlux Security のカスタム認証

Spring WebFlux Security でカスタム認証を実装します。ベースとなるユーザー認証部分は以前に実装したとおりです。

mike-neck.hatenadiary.com

今回は権限まわりの実装します。〜〜のパスには〜〜の権限が必要みたいなやつです。


特定のリソースへの特定のメソッドでのアクセス可否を設定するには SecurityWebFIlterChain を Bean 登録します。

  @Bean
  SecurityWebFilterChain springSecurityFilterChain(final ServerHttpSecurity http) {
    return http.httpBasic() // (1)
        .and()
        .authorizeExchange() // (2)
        .pathMatchers(HttpMethod.GET, "/talks/**") // (3)
        .hasAuthority("USER") // (4)
        .pathMatchers(HttpMethod.GET, "/test/**")
        .hasAuthority("ADMIN")
        .and()
        .build();
  }
  1. 今回はベーシック認証なので httpBasic を呼び出します
  2. アクセス可能なパス、メソッド、Authority(Role) の組み合わせ設定をします
  3. GET で /talk 以下のアクセスを許可します
  4. 上記のパスへのGETアクセスを authority=USER をもつユーザーに限定します

例えば USER 権限のみをもつユーザー foo を用意して、 /talks にアクセスしてみます

$ curl -v http://localhost:8080/talks --basic -u "foo:foo-pass"
> GET /talks HTTP/1.1
> Host: localhost:8080
> Authorization: Basic Zm9vOmZvby1wYXNz
> User-Agent: curl/7.54.0
> Accept: */*
> 
< HTTP/1.1 200 OK
< transfer-encoding: chunked
< Content-Type: application/json
< Cache-Control: no-cache, no-store, max-age=0, must-revalidate
< Pragma: no-cache
< Expires: 0
< X-Content-Type-Options: nosniff
< X-Frame-Options: DENY
< X-XSS-Protection: 1 ; mode=block
< 
[{"id":23014831827719168,"name":"beta users","description":"beta users","created":[2018,3,4,10,30,18,464000000]}]

talks にこのユーザーはアクセスできるので、jsonが返ってきます。今後は ADMIN 権限が必要な /test にアクセスしてみます。

$ curl -v http://localhost:8080/test --basic -u "foo:foo-pass"
> GET /test HTTP/1.1
> Host: localhost:8080
> Authorization: Basic Zm9vOmZvby1wYXNz
> User-Agent: curl/7.54.0
> Accept: */*
> 
< HTTP/1.1 403 Forbidden
< transfer-encoding: chunked
< Content-Type: text/plain
< Cache-Control: no-cache, no-store, max-age=0, must-revalidate
< Pragma: no-cache
< Expires: 0
< X-Content-Type-Options: nosniff
< X-Frame-Options: DENY
< X-XSS-Protection: 1 ; mode=block
< 
Access Denied

今度は403が返ってきました。
Spring WebFlux で Mono が empty の場合に404 を返す

Spring WebFlux フレームワークは戻り値の方は Mono<V> になるのだが、この Mono<V> が empty の場合、Spring 側でよしなにやってくれると思ったら、実はそうでもないらしい。

例えばこのようなハンドラーを作ってみる

  Mono<ServerResponse> test(final ServerRequest request) {
    final Optional<String> value = request.queryParam("value");
    return Mono.justOrEmpty(value)
        .map(Wrapper::new)
        .flatMap(v -> ServerResponse.ok().body(Mono.just(v), Wrapper.class));
  }

  @Bean
  RouterFunction<ServerResponse> testEndpointHandler() {
    return route(GET("/test"), this::test);
  }

  @Value
  public static class Wrapper {
    private final String value;
  }

このハンドラーはクエリーパラメーター value の値を json にラップして返してくれる。

これに対してクエリーパラメーター value に対して値を設定してリクエストを送ってみると次のようなレスポンスが返ってくる。

$ curl -v "http://localhost:8080/test?value=foo"
> GET /test?value=foo HTTP/1.1
> Host: localhost:8080
> User-Agent: curl/7.54.0
> Accept: */*
> 
< HTTP/1.1 200 OK
< transfer-encoding: chunked
< Content-Type: application/json;charset=UTF-8
< Cache-Control: no-cache, no-store, max-age=0, must-revalidate
< Pragma: no-cache
< Expires: 0
< X-Content-Type-Options: nosniff
< X-Frame-Options: DENY
< X-XSS-Protection: 1 ; mode=block
< 
{"value":"foo"}

一方、クエリーパラメーター value がないリクエストの場合は次のようになる。

$ curl -v "http://localhost:8080/test"
> GET /test HTTP/1.1
> Host: localhost:8080
> User-Agent: curl/7.54.0
> Accept: */*
> 
< HTTP/1.1 200 OK
< Cache-Control: no-cache, no-store, max-age=0, must-revalidate
< Pragma: no-cache
< Expires: 0
< X-Content-Type-Options: nosniff
< X-Frame-Options: DENY
< X-XSS-Protection: 1 ; mode=block
< content-length: 0
< 

クエリーパラメーター value が存在しない場合は返す Mono<ServerResponse> は empty なので 404 が返ってきてほしいのだが、実際は200 が返ってきてしまう。

このような場合は Mono#switchIfEmpty(Mono<? extends V>) を用いる。

Mono (Reactor Core 3.1.5.RELEASE)


修正後のコード(一部)

  Mono<ServerResponse> test(final ServerRequest request) {
    final Optional<String> value = request.queryParam("value");
    return Mono.justOrEmpty(value)
        .map(Wrapper::new)
        .flatMap(v -> ServerResponse.ok().body(Mono.just(v), Wrapper.class))
        .switchIfEmpty(ServerResponse.notFound().build());
  }

修正後のアプリケーションに対してクエリーパラメーター value を設定せずにリクエストしてみる。

$ curl -v http://localhost:8080/test --basic -u foo:foo-pass
> GET /test HTTP/1.1
> Host: localhost:8080
> User-Agent: curl/7.54.0
> Accept: */*
> 
< HTTP/1.1 404 Not Found
< Cache-Control: no-cache, no-store, max-age=0, must-revalidate
< Pragma: no-cache
< Expires: 0
< X-Content-Type-Options: nosniff
< X-Frame-Options: DENY
< X-XSS-Protection: 1 ; mode=block
< content-length: 0
< 

404が返ってきた。

Gradle4.6 からの JUnit5 実行方法

Gradle4.6 がリリースされ、 JUnit5 に対応しました。以下にGradle から JUnit5 のテストを実行するための build.gradle を示しますが、特殊なことをするわけではありません。


build.gradle

plugins {
  id 'java'
}

repositories {
    mavenCentral()
}

test {
    useJUnitPlatform {
        includeEngines 'junit-jupiter'
    }
}

dependencies {
    testCompile group: 'org.junit.jupiter', name: 'junit-jupiter-api', version: '5.1.0'
    testRuntime group: 'org.junit.jupiter', name: 'junit-jupiter-engine', version: '5.1.0'
}

(java-library プラグインを使う場合)

build.gradle.kts

plugins {
  id("java-library")
}

repositories {
  mavenCentral()
}

tasks {
  "test"(Test::class) {
    useJUnitPlatform {
      includeEngines("junit-jupiter")
    }
  }
}

dependencies {
  testImplementation("org.junit.jupiter:junit-jupiter-api:5.1.0")
  testRuntimeOnly("org.junit.jupiter:junit-jupiter-engine:5.1.0")
}

ポイントは3つ

  • ややこしいプラグインの記述がなくなりました
  • テストのコンパイルjunit-jupiter-api を ランタイムに junit-jupiter-engine を追加します
  • task.test.useJUnitPlatform() を呼び出す

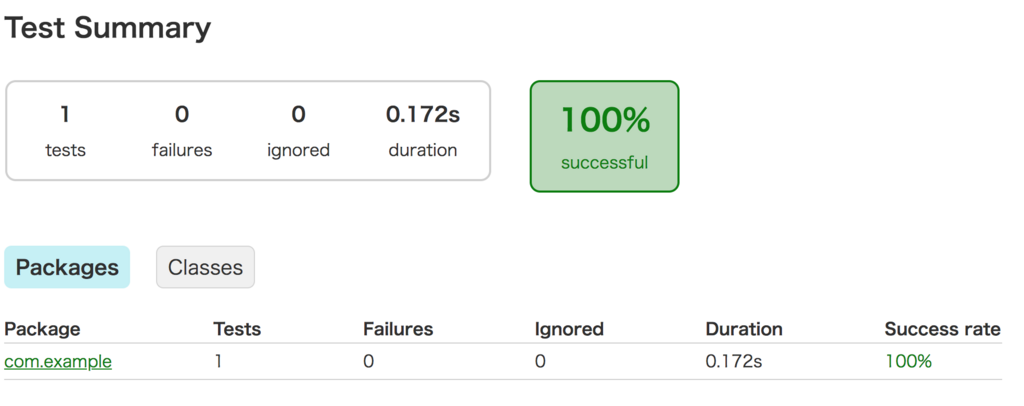
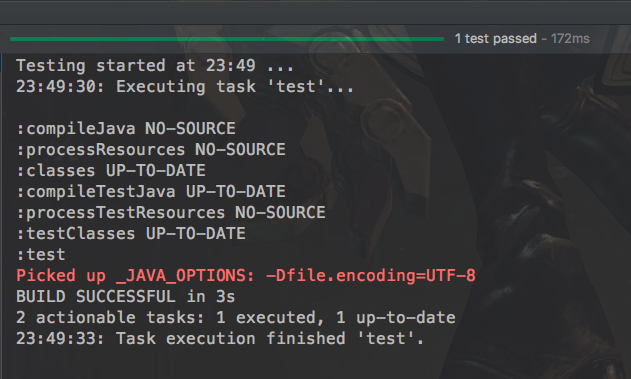
これであとはよしなにJUnit5を実行して、今まで通りのレポートを出力してくれます。

f:id:mike_neck:20180302000902p:plain

f:id:mike_neck:20180302000935p:plain

Reactor Test の StepVerifier の withVirtualTime の使い方

f:id:mike_neck:20180221005726p:plain

Spring WebFlux で project Reactor が使われていて、まだ手に馴染んでいないので、 チュートリアル をやっていたところ、 StepVerifier#withVirtualTime の使い方がわからず、検索しても要領を得ず、いろいろ試して使い方がわかったので、そのメモ

tech.io


前提知識

Mono<T>Flux<T> のテストには StepVerifier を用いてテストを行う

@Test
void sampleUsageOfStepVerifier() {
  StepVerifier.create(Flux.just("foo", "bar", "baz"))
      .expectNext("foo")
      .expectNext("bar")
      .expectNext("baz")
      .verifyComplete();
}

Flux<T> などの内部のスケジューラーを操作するために StepVerifier#withVirtualTime(Supplier<Publisher<T>>) というメソッドがある

これで、100時間かかるようなスケジューリングをしている Flux でも数秒でテストできる。


問題

生成まで 1 秒、イベントの間隔が 1 秒で 0 から 1 ずつ単調増加する 3600 個の順列 Flux<Long> がある。この Flux<Long> に対して、次のテストをおこなえるコードを記述すること

  • 3600 個の要素があること
  • 任意の3箇所の値が正しい値であるかを検証すること
  • 2 秒以内に終わること

テスト対象の Flux<Long>

テストのデータになる Flux<Long> は次のように生成する。

Supplier<Flux<Long>> flux() {
  final Duration oneSecond = Duration.ofSecond(1L);
  return () -> Flux.interval(oneSecond, oneSecond)
      .take(3_600L)
      .log();
}

最初に書いたダメなテスト

1秒を3598回待つというコードをどのように書くのかわからず、とりあえず書いたコードです。

@Test
void tooLongFlux() {
  StepVerifier.withVirtual(flux())
      .expectSubscription() // 購読開始
      .expectNoEvent(Duration.ofSeconds(1L)) // 発生まで1秒
      .expectNext(0L) // 最初の要素
      .thenAwait(Duration.ofSeconds(1L)) // 1秒待つ
      .expectNext(1L) // 2回目の要素
      .thenAwait() // ん?1秒 x 3598 回 をどうやって待つ?
      .expectNextCount(3597L)
      .expectNext(3599L) // 最後の要素
      .verifyComplete(); // 終わったことを確認
}

これを実行すると次のようにログが表示されたところで動かなくなります。

[ INFO] (pool-1-thread-1) onSubscribe(FluxTake.TakeSubscriber)
[ INFO] (pool-1-thread-1) request(unbounded)
[ INFO] (pool-1-thread-1) onNext(0)
[ INFO] (pool-1-thread-1) onNext(1)

次に書いたイケてないコード

とりあえず、強引に1秒 x 3598回待つようにコードを書きます。

@Test
void tooLongFlux() {
  final StepVerifier.Step<Long> verifier = StepVerifier.withVirtual(flux())
      .expectSubscription()
      .expectNoEvent(Duration.ofSeconds(1L));
  final StepVerifier.Step<Long> intermediate = Interval.fromTo(0, 3599)
      .injectInto(verifier,
          (step, index) -> step.expectNext((long) index)
              .thenAwait(Duration.ofSeconds(1L)));
  intermediate.verifyComplete();
}

これはすべての要素を検査するので、正しいコードと言えば正しいコードです。とはいえ、一部を省略していいという緩めのテストなので、若干過剰でもあります。

やっとたどり着いたコード

ここで先ほどのコードでは 3600 秒待てばよいところを 3601 秒待っていることに気づいたので、 thenAwait はトータルで 3600 秒進ませればあとは間隔が空いていない Flux<T> と同じテストと変わらないのではないかと予想しました。

@Test
void tooLongFlux() {
  StepVerifier.withVirtual(flux())
      .expectSubscription()
      .expectNoEvent(Duration.ofSeconds(1L))
      .expectNext(0L)
      .thenAwait(Duration.ofSeconds(1L))
      .expectNext(1L)
      .thenAwait(Duration.ofSeconds(3600L - 2L)) // 3600 - 2 要素分スケジューラーを進ませる
      .expectNextCount(3600L - 3) // 値をテストする3個を除いた個数を飛ばす
      .expectNext(3599L)
      .verifyComplete();
}

これを実行したところ、先ほどのテストと同様にパスできました。

thenAwait(Duration) はその都度待つ時間をあらわすでのはなく、一気に時間を飛ばすというメソッドでした。 thenAwait(Duration) の挙動がいまいち分かりづらかったので、このテストについて長時間ハマってしまいました。


まとめ

非常に長い Flux<T> をテストする場合は、 StepVerifier#withVirtualTime でスケジュールを調整できる StepVerifier.Step<T> を作った上で、 thenAwait(Duration) で進ませたい時間を進ませることによって、すべての要素のテストが実施できる。