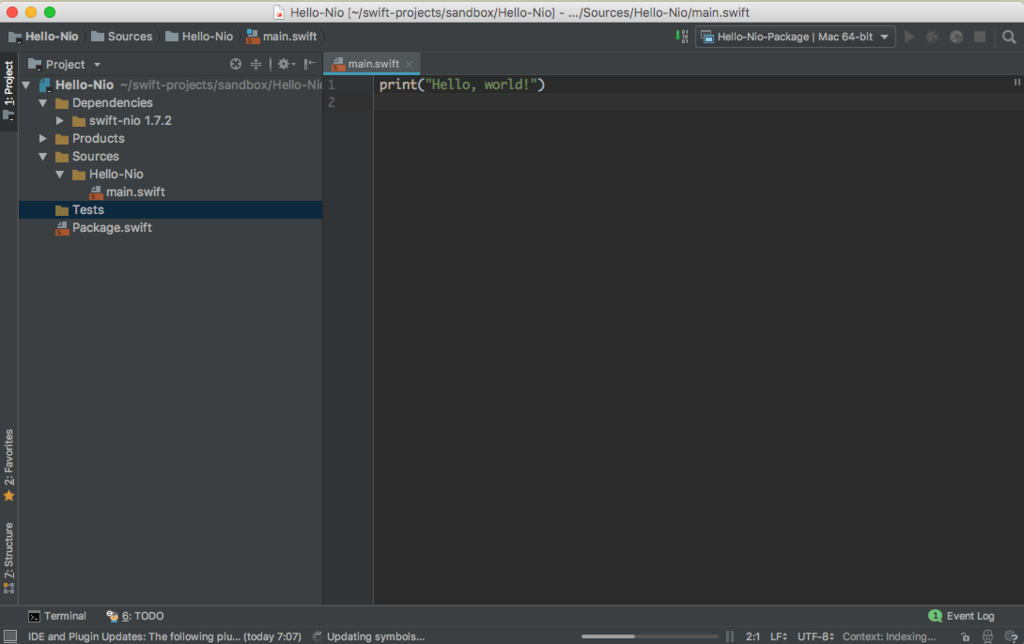
とある理由により、 Swift Package Manager を使っているけど、どこに書いてある方法を真似しても(Swift のドキュメントですら)エラーが出てしまうので、自分用にメモを取ることにした
プロジェクトの作成
プロジェクトを作成するには swift package init コマンドを使う.
今回はアプリケーションを作りたいので、オプションに --type executable を指定する.
$ mkdir Hello-Nio
$ cd Hello-Nio/
$ swift package init --type executable
Creating executable package: Hello-Nio
Creating Package.swift
Creating README.md
Creating .gitignore
Creating Sources/
Creating Sources/Hello-Nio/main.swift
Creating Tests/
$ tree ./
./
├── Package.swift
├── README.md
├── Sources
│   └── Hello-Nio
│       └── main.swift
└── Tests

3 directories, 3 files
このときに出来上がる main.swift の中身はこんな感じ.
print("Hello, world!")
また、プロジェクトの依存関係を記述する Package.swift は次のようになっている.
// swift-tools-version:4.0
// The swift-tools-version declares the minimum version of Swift required to build this package.

import PackageDescription

let package = Package(
    name: "Hello-Nio",
    dependencies: [
        // Dependencies declare other packages that this package depends on.
        // .package(url: /* package url */, from: "1.0.0"),
    ],
    targets: [
        // Targets are the basic building blocks of a package. A target can define a module or a test suite.
        // Targets can depend on other targets in this package, and on products in packages which this package depends on.
        .target(
            name: "Hello-Nio",
            dependencies: []),
    ]
)
ではビルドしてみる
$ swift build
Compile Swift Module 'Hello_Nio' (1 sources)
Linking ./.build/x86_64-apple-macosx10.10/debug/Hello-Nio
これでビルドできたので、試しに実行してみる.
$ ./.build/x86_64-apple-macosx10.10/debug/Hello-Nio
Hello, world!
参考URL
AppCode に取り込み
コードを追加したいので、AppCode で取り込むために、 xcodeproj を作る
$ swift package generate-xcodeproj
generated: ./Hello-Nio.xcodeproj
$ tree ./
./
├── Hello-Nio.xcodeproj
│   ├── project.pbxproj
│   └── xcshareddata
│       └── xcschemes
│           ├── Hello-Nio-Package.xcscheme
│           └── xcschememanagement.plist
├── Package.swift
├── README.md
├── Sources
│   └── Hello-Nio
│       └── main.swift
└── Tests

6 directories, 6 files
依存ライブラリーを取り込む
依存ライブラリーを取り込んでいく.
Swift-NIO を使いたいので、 Package.swift を以下のように書き換える
// swift-tools-version:4.0
import PackageDescription

let package = Package(
    name: "Hello-Nio",
    products: [
        .executable(name: "Hello-Nio", targets: ["Hello-Nio"])
    ],
    dependencies: [
        .package(url: "https://github.com/apple/swift-nio.git", from: "1.6.1")
    ],
    targets: [
        .target(name: "Hello-Nio", dependencies: ["NIO"]),
        .testTarget(name: "Hello-Nio-Tests", dependencies: ["Hello-Nio"]),
    ]
)
ポイントは次の4つ
// swift-tools-version:4.0を先頭に書く. これを書かないと version が 3 と認識されてコンパイルできないproducts:に成果物の記述をする..executableは実行可能なバイナリーを作る場合に指定する..libraryはライブラリーを作る場合に指定する..executable/.libraryの中にあるtargets:は後続するtargets:のname:から選択して記入する
dependencies:には依存するライブラリーのgit レポジトリーのURLとバージョンを記述する.targets:にはビルドのモジュールの単位を記述する(っぽい)
AppCode に外部ライブラリーを読み込ませるために、 xcodeproj を作り直す
$ swift package generate-xcodeproj
ここまでを取り込んだ状態の AppCode は次のような感じ

適当にプログラムを書く
適当に書いた
import NIO

var buffer: ByteBuffer = ByteBufferAllocator().buffer(capacity: 64)
buffer.write(string: "foo-bar")

let string: String = buffer.readString(length: buffer.readableBytes) ?? ""

print("\(string)")
ビルドする
ビルドは先程と同じ swift build で行う.
$ swift build
warning: error while trying to use pkgConfig flags for swift-nio-zlib-support: couldNotFindConfigFile
Compile CNIOLinux shim.c
Compile CNIOSHA1 c_nio_sha1.c
Compile CNIOAtomics src/c-atomics.c
Compile CNIODarwin shim.c
Compile Swift Module 'NIOPriorityQueue' (2 sources)
Compile Swift Module 'NIOConcurrencyHelpers' (2 sources)
Compile Swift Module 'NIO' (51 sources)
Compile Swift Module 'Hello_Nio' (1 sources)
Linking ./.build/x86_64-apple-macosx10.10/debug/Hello-Nio
warning: target 'Hello-Nio-Tests' in package 'Hello-Nio' contains no valid source files
そして実行してみる.
$ ./.build/x86_64-apple-macosx10.10/debug/Hello-Nio
foo-bar
というわけで、一通りビルドまでできました.
TODO
テストについて書く